

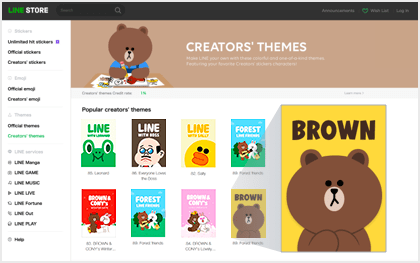
Creation Guidelines
Creating a Theme
After entering your product detail settings in My Page, set a color skin that matches your images' designs.
-
 1Log in to My Page and click New Submission.
-
 2Enter the text information for your theme and click Save.
-
 3Compress your images into a ZIP file and upload it.
-
 4Set a color skin and background colors.
Requirements
Images (60)
| Quantity | |
|---|---|
| A. Main Images | 3 |
| B. Menu Button Images ※ | 34 |
| C. Menu Background Images | 1 image |
| D. Passcode Image | 16 |
| E. Profile Images | 4 |
| F. Chat Background Image | 2 |
- You must create button designs for each iOS version in order to accommodate iOS updates. For more information on how to do this and detailed specifications, please refer to the Complete Creation Guidelines.
Text
| Character Limits | |
|---|---|
| Creator | Up to 50 characters |
| Theme Title | Up to 40 characters |
| Theme Description | Up to 160 characters |
| Copyright | Up to 50 characters |
Asian language characters and some symbols count as 2 characters each.
Sample Images
A. Main Images
Theme title, creator's name, and theme description

B. Menu Button Images
C. Menu Background Images
E. Profile Images
F. Chat Background Image
D. Passcode Image
Theme Template
- Feel free to use the Adobe Photoshop template linked below to get started making themes.
- Use it in Photoshop together with the guide to create themes with minimal hassle.
- · This template may change to reflect updates made to creators' themes.
- · Redistribution of either the original or a modified version of this template is forbidden.
- · This file is not compatible with Photoshop CS6 and older versions due to its use of artboards.
Color Skin Settings
Selecting a Color Skin
You can select a color skin design after uploading your theme images.

Checking Your Color Skin
We recommend downloading image templates to compare color skin designs before beginning work on your theme images.
-
 1Download templates.
-
 2Click "New Submission" in My Page.
-
 3Upload "colorskin_brown.zip" on the Edit Theme page.
-
 4Check your color skin under the Color Skins tab.
Setting Background Colors
You can set the background color of the chat screen to your preferred color.
-
Using the color skin default

-
Using separate background color

Review Guidelines
Unacceptable Themes
- · Themes with poor visibility, such as icons that are visibly corrupted and difficult to see or that blend in with the background image.
- · Themes that do not feature good overall design balance (E.g., no unifying theme among icons, icons featuring only text)
- · Images that only contain text (no illustrations)
- · Themes that are duplicates of themes that are already available or currently under review (including simple color-revisions of existing icons)
- · Content that offends public order and morality, is suggestive of under-age drinking or smoking, contain sexual or violent imagery, or may fuel nationalism.
Other Notes
- · Any paid themes should not be used for advertisement purposes. Theme graphics, titles, and text cannot act as advertisements (including announcing sales or release dates) or feature superfluous or unnecessary corporate logos.
- · Requiring a user's personal information or ID in order to purchase a theme is strictly forbidden.
Content that mentions any internet service, messenger app, or similar services, or consists of any characters related to such services may not be sold in the Creators Market. - · For more details, please see the theme review guidelines.